"No integrator" does not mean no preparation. It means that the preparation your team does before first power-on replaces the preparation that an integrator would otherwise do for you, at their timeline and at their cost. The question is not whether the preparation is necessary. It is whether your team can do it, and what you need to have in place before you try.
I have run the pre-deployment assessment at every one of our early pilot sites, and the pattern is consistent: the sites that got to production in a day had done five things before we arrived. The sites that took three days to production had gaps in two or three of these five areas. None of the gaps were hard to close, but each one adds time, and time during commissioning is expensive because your production line is waiting.
Here is the checklist, with the reasoning behind each item.
1. A nominated deployment lead who is not the plant manager
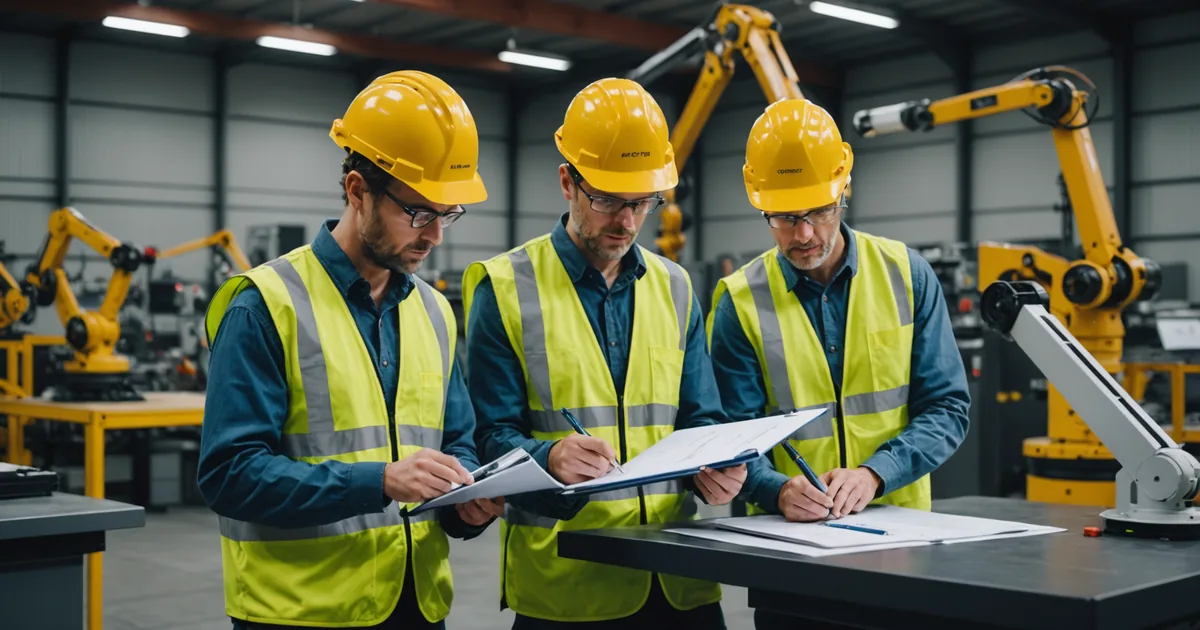
The deployment lead is the person who will be present for the full commissioning day, who has the authority to make decisions about I/O wiring and PLC modifications without escalating to the plant manager for each step, and who will own the arm's operation and task library after we leave. This person does not need to be a robotics expert. They need to be a technically competent person with knowledge of the station's existing equipment and the authority to act.
At sites where the deployment lead was the plant manager, commissioning consistently took longer. Not because plant managers are less capable, but because a plant manager's day does not have three uninterrupted hours available for a commissioning session. Every interruption breaks the flow of a teach session at a point where continuity matters. The deployment lead needs to be someone who can be fully present for the duration.
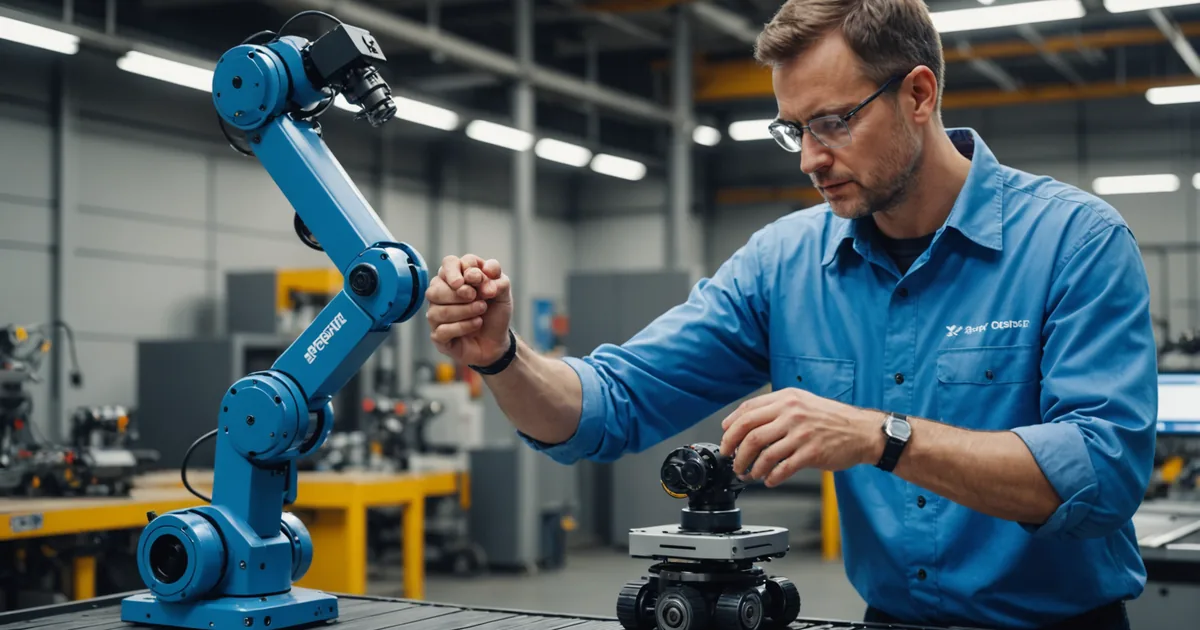
The deployment lead should also be the person who will do the first retask. If you want the arm to be retaskable by your own staff, the first retask should be done by someone on your team, not by us. The commissioning day is the natural moment to train that person. The deployment lead is the best candidate.
2. A printed I/O map for the station's existing PLC
The arm needs to connect to the station's existing PLC control loop. At minimum, it needs a cycle-start signal input and a cycle-complete output. For stations where task selection is PLC-controlled, it also needs task-select bits. All of these need to be wired into the PLC I/O, which requires knowing what I/O addresses are available and what their current assignments are.
A printed I/O map from the existing PLC program, showing the current I/O assignments for the station, reduces the PLC integration step from one to two hours of reverse-engineering to 20 to 30 minutes of targeted modification. At sites where no I/O documentation existed, we spent most of the first day reading the existing ladder logic to understand the signal structure before touching anything. That is a recoverable situation but an avoidable one.
If your PLC documentation is not current (it rarely is), the next best thing is having the person who last modified the PLC program available by phone for a 15-minute call during the commissioning session. They will know the current I/O structure well enough to answer the key questions.
3. A cleared station footprint and a mounting decision
The arm needs a mount point. The options are a floor stand, a table mount, or a wall/overhead mount. The choice depends on your station geometry and the reach geometry required by the task. Before commissioning day, the mounting location should be selected, the mounting surface should be prepared (anchor points for a floor stand, bolt pattern for a table mount), and the station footprint should be cleared of any equipment that is not part of the target task.
The most common delay we encounter in this area is a station that has accumulated ancillary equipment over the years: extra toolboxes, storage bins, fixtures from previous jobs, an unused vision system from a failed pilot. All of that needs to move before the depth camera can map the station geometry correctly. The camera maps what it sees, and it will try to avoid everything it sees. A cluttered station produces a cluttered collision map, which constrains the motion planner's path options and requires more waypoints to navigate around objects the arm will never need to avoid in production.
Clear the station to what it will look like during production operation. That is the state the camera should map, and the state you will be teaching against.
4. A defined task cycle with specific success criteria
Before commissioning day, you should be able to describe the target task cycle in the following terms: what is the arm picking, where is it picking from, where is it placing, what is the placement tolerance, and what is the expected cycle time. These do not need to be precise specifications; they need to be specific enough to drive the teach session.
The more common failure mode here is arriving at commissioning with a general intent ("we want the arm to palletize these boxes") but no specific decisions made ("we have not decided whether it should build a 4x4 or a 5x5 pallet pattern, and we have not decided where the pallet stand should go"). Those decisions have to be made before the teach session, because the teach session records where the arm goes. If the task cycle is not defined, you are not ready to teach it.
The success criteria matter because they determine when the commissioning session is done. If you have not defined what "working correctly" means for this task, you will not know when you have reached it, and the session will drag. Typical criteria: a run of 10 consecutive cycles at full speed with zero faults, meeting the required placement tolerance and cycle time. That is enough validation to release to production for a first task.
5. A sample of the actual production parts
The arm's teach session uses the actual production parts at the actual station. The depth camera builds its reference model from the specific part geometry it will see in production. Teaching with a substitute part or a CAD printout and then running production with the actual part introduces pose estimation error that the commissioning session will not have caught.
For the teach session, bring at least 10 representative samples from your production lot. The camera will build its reference model from one of them. You will use two or three more during the confirmation cycle sequence to verify the approach is robust to the part-to-part dimensional variation in your actual lot. The rest are there in case you need to re-run the confirmation cycle after adjusting parameters.
If your part has significant dimensional variation lot-to-lot (for example, castings from multiple suppliers with different dimensional tolerances), note that and flag it during the commissioning session. The pose estimation correction envelope can be adjusted to accommodate a wider variation range, but it needs to be validated against the actual extremes of your production part variation. We cannot validate that if we do not know the variation range exists.
What we bring and what you own after
On commissioning day, we bring the arm, the software, and the deployment know-how. We run the initial teach session with your deployment lead present and participating, not observing. The goal is that by the end of the day, your deployment lead has personally executed the task teach sequence and could run it again independently on a different task.
After commissioning, you own the arm, the task library, and the retask capability. For routine task changes (same part type, same general motion structure, new waypoints or new placement targets), your team should be able to retask without calling us. For significant task changes (new gripper, new part type outside the previous correction envelope, new I/O configuration), we can support remotely or on-site depending on your service tier.
The five-item preparation checklist is designed to make the commissioning day productive rather than diagnostic. The team that arrives with all five items in place gets to production the same day. That is the scenario we are optimizing for, and these are the things that make it happen.